
Solar Ribbon: If you’re new to building or want to start building your own solar panel to save money, then you found the right article to read. Going green is great, but buying photovoltaic panels can be very costly. Currently, PV panels prices are still high over $2.00/watt and slowly decreasing. That’s a great thing, but for now people like you and I need another alternative, a cheaper way to build it. So what materials are require and how do you build a solar panel?
First, you must purchase solar cells, which are the component inside a PV panel that generates power. Silicon solar cells come in multicrystalline and monocrystalline, the monocrystalline being the more pure and powerful cell. There are other types of solar cells as well, but the most common solar cells used to build DIY solar panels are the 3″ x 6″ multicrystalline solar cells. These 3×6 cells come with about 1.6 – 1.8 watts of power. 36 of these 3×6 PV cells can used to produce one 60 watt solar panel, which is powerful enough to power a laptop. Usually these 3×6 solar cells are sold in 108 pcs and can produce 3 solar panels with a total of 180 watts of pure solar power.
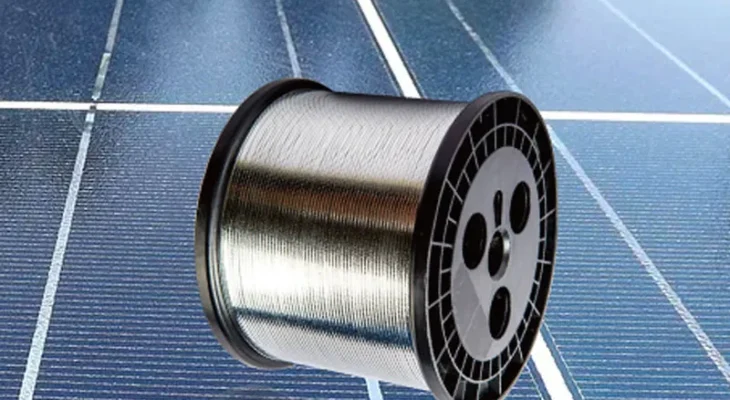
Next, you’ll need to purchase solar ribbon or PV wires. These wires are use to connect and interconnect your 3×6 solar cells together in an array so they can used to build your DIY solar panel. These solar ribbons are know as tabbing wire and bus wire. The tabbing wire is thinner in width and is use to interconnect the 3×6 solar cells together. While, the bus wire is wider in width and is use to connect the array of 3×6 solar cells together. The usually length of tabbing wire comes in 50 feet, while the bus wire comes in 10 feet.
When you receive the materials you can finally build your DIY solar panel with the 3×6 cells. So, how exactly do you connect the 3×6 solar cells together with the PV wires? It’s easier than you think. It’s basically connecting the negative terminals to the positives in a huge array of PV cells. And then you get one set of negative terminal and one set of positive terminal.
If you take a look at the front facing side of your cells, the blue side is the negative (-) side with 2 white bus bars. Behind the PV cells is the positive (+) side with 6 square white bus wires. To start the connection of the cells. You get the tabbing wire and cut in 6″ lengths and then using a soldering iron. Solder the tabbing wire onto the negative side or blue side of the wafer. The PV cell has two bus bars, so you must tab both the bus bars with the tabbing wire.